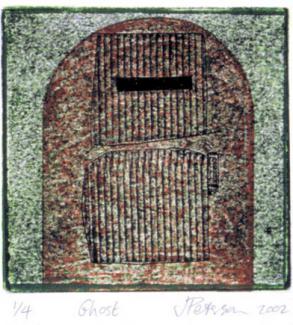
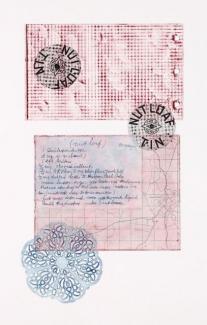
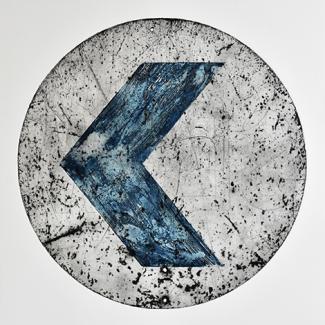
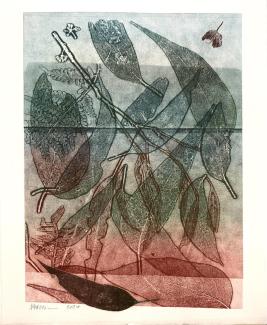
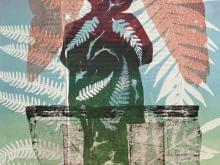
Any metal put through an etching press should be uniform in overall thickness; reasonably flat (no chain links or zippers) and less than 3mm thick. e.g. Knives and forks from the kitchen vary in thickness and are difficult to flatten. For such shapes I would cut sheet metal such as galvanised iron with electric cutter using a template or stencil.
Useful tools (to add to printmaking tools) include tin snips, metal files, hole punch, cold chisel, engineers hammer, anvil, sledgehammer, pliers, clamp, steel wool or sandpaper for cleaning. Angle grinder and Dremmel tool kit are optional, depending on types of metal being used.
Tips:
- File metal edges and sharp corners.
- Wear cloth gloves when cutting with tin snips and filing edges.
- If you need to use power tools such as angle grinder to cut hard metals get some training and take all safety precautions - or ask experienced person to do it for you.
- Use dense foam rubber instead of felt blankets.
- Use thick acetate to protect press bed.
- Very thin metals such as shim can be 'padded up' with cardboard.
- When setting the pressure on the press tighten gradually, use prepared plate for test run and use layer of paper to see embossed impression.
- Use small rubber squeegees to push ink into surfaces and tarlatan and paper for wiping back.
- Relief printing is another option - by hand or with a press.
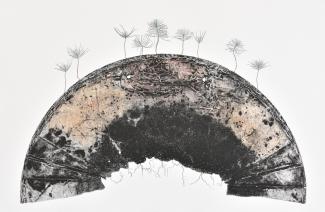
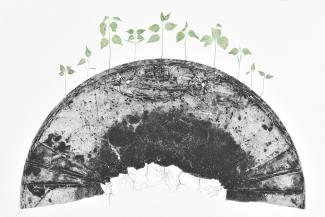
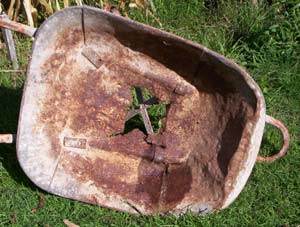
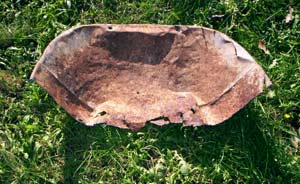
The following images show the stages of preparing plates from rusty wheelbarrows by cutting, unfolding and flattening. This type of plate was used to create TERRE, PINUS and TERRE, BETULA PENDULA images from 2019.
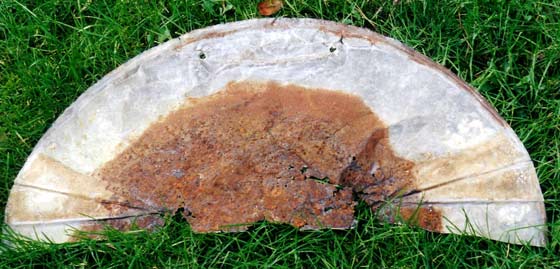
When plate is at this stage with no sharp corners, no loose bits, it can be taken into the studio for printing.
